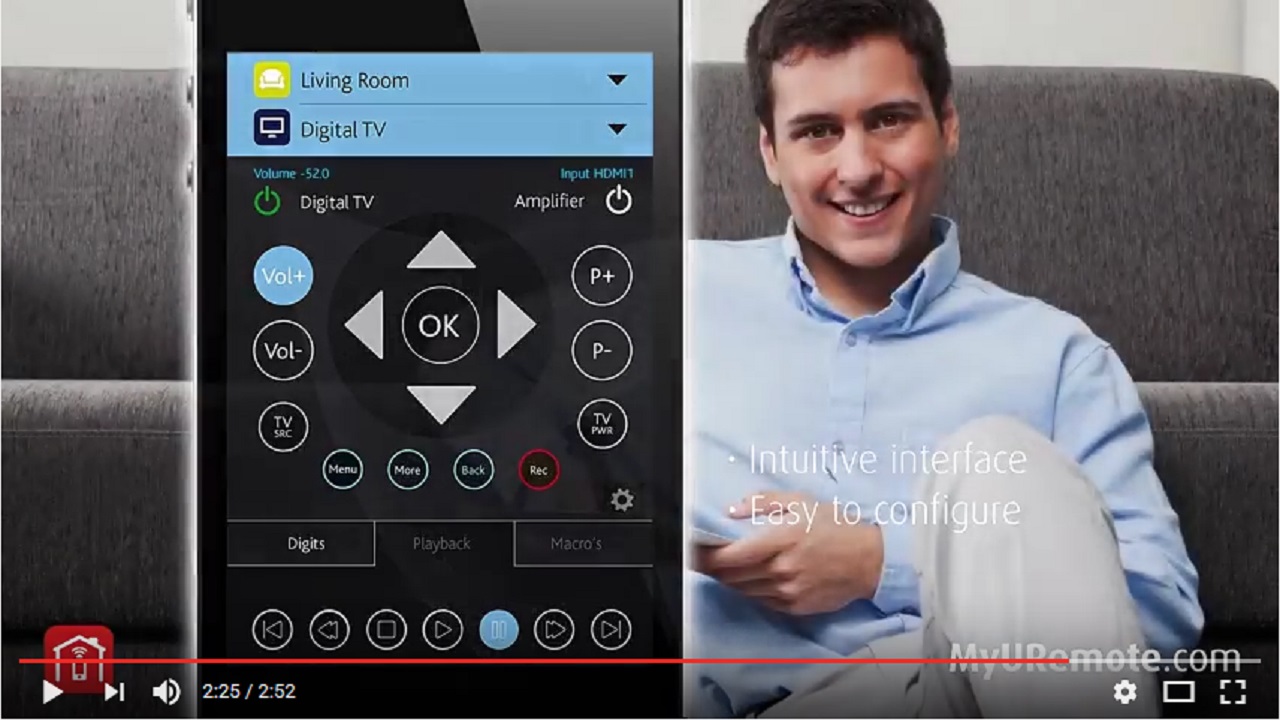
Macros are used to send multiple commands from a single button. In the configuration panel, you can combine commands from the same Device, different Devices, different Command types (IR, serial & IP) and different controllers offering you maximum flexibility. This tutorial covers how to create and configure a macro. Delays are now automatically added to a macro between the commands, but can still be modified to customize timing. Also it is possible to add a condition whether or not a command must be executed.
Macro’s: add one or a sequence of commands:
- add one command that is not automatically connected to another button in the standard interface. (e.g. creating an extra button for the PLAY function is really unnecessary because it is already in every AV interface provided, but you can always put an extra button for the ASPECT function or GUIDE, or … on your remote panel.)
- add more successive functions: if once again the same sequence of commands is needed f.i. to start an application of your AV system(start TV, start AMP, start Cable Tuner, Set input TV, Set Input AMP, …), it is useful to save this sequence of commands into a macro and then link it to a button.
the function buttons are accessable in the left column on a tablet view, are in the macro tab on a phone view:
The buttons you can associate with macros are:
- Function buttons (bottom of the GUI): this is the most common way to start macro’s. An additional button at the bottom of the interface that calls the successive commands, or starts another APP, or opens a Web page.
- Input buttons: Create a macro (see below) and name it “Input1” or “Input2” or “Input3” or … in accordance with the input number on the interface.
- Power buttons: Create a macro (see below) and name it “pwr1” or “pwr2” or “pwr3” or … in accordance with the input number on the interface or “pwramp” accordance with the Power Amp Button.
How to configure MyURemote for using macro’s:
- Open settings and select “Macros”.

- Use the ADD icon to start creating a new macro button.

- Click the empty Icon and select the Icon you want to use for your macro button.

- 1- Enter a distinctive label for this macro.
The label of the macro is free to choose, but when you want to execute a macro when an input button is clicked then label the macro Input1…5 . When you want to execute a macro when an power button is clicked then label the macro pwr1…5.2- Select the zone on which this macro should appear.3- Enter a number which will determine the order off the macro button in the button list on your remote interface .
Avanced use: When your zone is a “Macros only zone” you can use this field to determine the position of the button on your 4 x 4 raster. e.g. 23 is second row, third column.4- Click the Add command icon to start adding the commands that will be executed using this macro button.
Touch start commands: The command(s) will be executed on touch start.
Touch end commands: The command(s) will be executed on touch end of the macro button. - Select the device you want to control with this macro button.
You can select all devices used in the zone in which your macro button must appear.
Advanced use: non-visible devices can be added for use with your macro button. Open settings – zones – edit the zone inn which your macro button must appear – add “non-visible devices for this zone”.
- Select the command to execute on the device.
additional: Wait: some kind of sleep time the app waits before the next command will be executed (in ms, 1000 is 1 second).
Advanced use: Condition: enter a condition under which this command will be executed (e.g. “additional_2=0”: the command will be executed when device (Alias = additional_2) is OFF), “amplifier=0” means “if amplifier is off”.

- Save the command.

- Save the Macro, or…

- add more commands

- exit settings and check your macro.

for professionals:
- you can set a condition: amplifier=0,amplifier,On/Off,300; if amplifier is off, then pwr on. Next command after 300ms.
you can status detect with GC-SV1==> add additional device “Others”-“Global Cache”-“input x sensor”
Note you have to configure the IR output as state input in the web GUI of your global caché controller - Here you can find info how to create MACRO’s Only pages.


